Setup Docker on Raspberry Pi
With the 1.12.1 release, Docker is now officially supported on the Raspberry Pi. Hooray!
I personally love containers for the ability to build once, run many across a multitude of different operating systems and one day, even architectures. Because I am a bit of a neat freak, it also is very beneficial that Docker helps keep applications from spreading their dirt all over the host’s filesystem (OpenVPN is a classic for this).
With that said, how do we get Docker? Very simply.
At your shell prompt, enter the below:
curl -sSL get.docker.com | sh
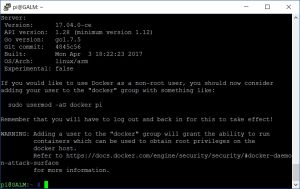
Once it has been downloaded and unpacked from the repos it will present you with the Docker version and a few handy tips we will go into in a moment:

Before we go any further, let’s add it the daemon that manages the Docker infrastructure as a auto starting service and kick it off:
sudo systemctl enable docker && sudo systemctl start docker
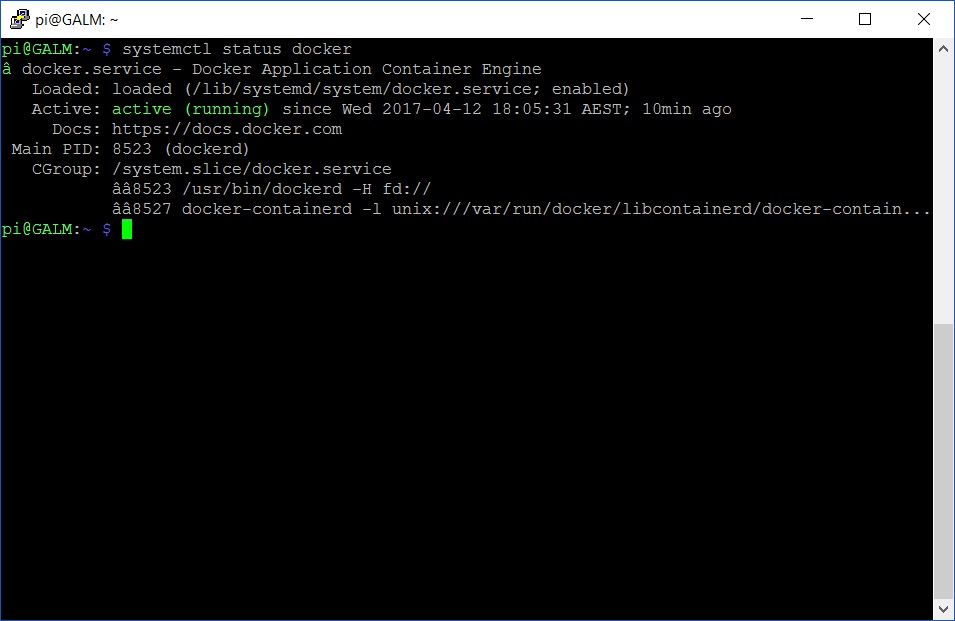
We can verify the service been added and successfully started by dropping the following code:
systemctl status docker
You should be presented with something similar to the below with happy green text telling us all is good:

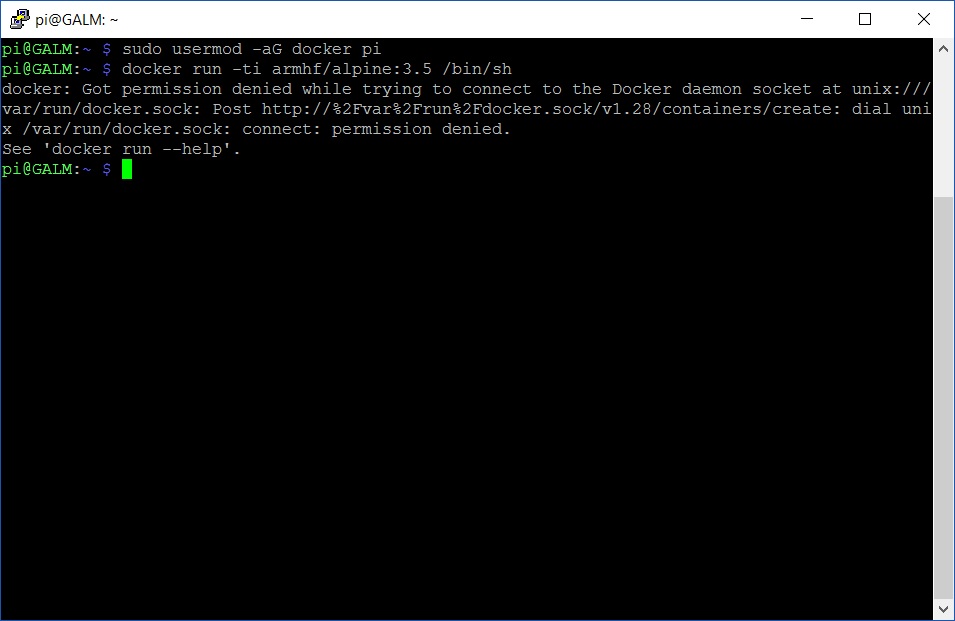
Now you are all ready to go but Docker will require elevating with sudo unless you add your user (usually pi on a Raspberry Pi) to the Docker security group with the below:
sudo usermod -aG docker pi
Make sure you reset your TTY session otherwise you will get permission denied errors for not elevating

Now what? In my next post we will run a basic image inside a container. Stay tuned!

